My soulmate, WhiteShepherd, wanted to have a nice art piece for his new creation, Furtopia/artwork. We talked and sketched and worked on details for about a week and then I started working on the drawings.
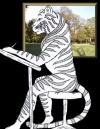
The vision I got for this page I realized I didn't need to create another sketch. I had a sketch that I had created on September 21, 2001, that I felt would be PERFECT for this new page! So, I brought it into Paint Shop Pro 5 to add some color to it. Easy? I wonder....
One thing I have always had problems with, but am steadily working to improve, is backgrounds and perspective. I am hoping that creating these pics on the computer will eventually help me get what I see to the tips of my fingers and actually down on paper and they look real! Who knows?
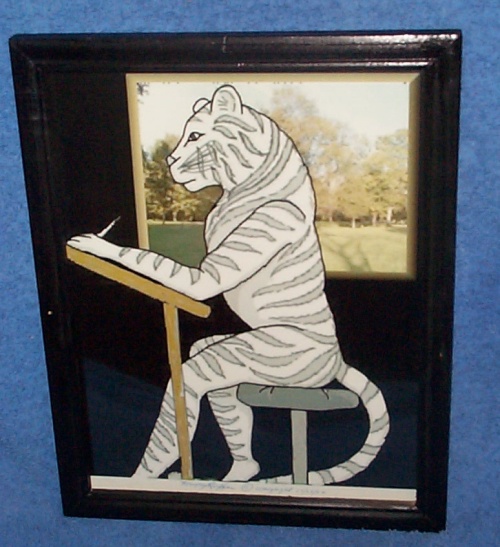
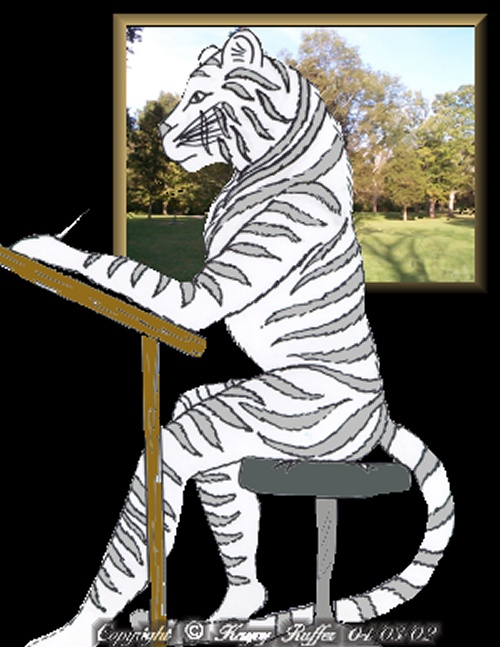
This is the final product.
(This piece will be displayed at the AC2002 Art Show.)
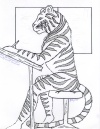 |
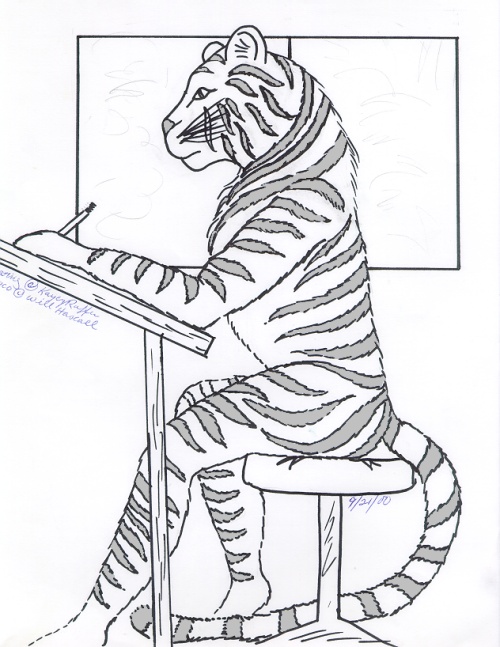
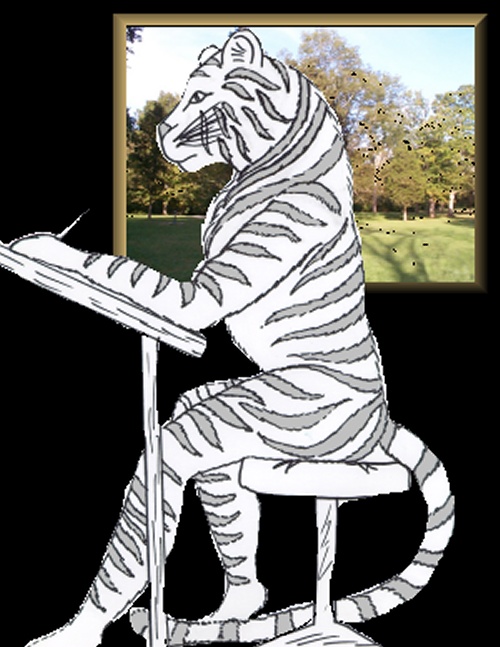
This sketch I created of a friend of mine, Itico, while he was sitting at his drawing table next to his window. I really couldn't draw the tree that was outside of his apartment window but I knew some day I might finish the sketch. A person can hope, can't they?
So when I got the idea to put this drawing up on WhiteShepherd's webpage I came up with the idea of putting one of our photos in place of the window, so it would look like you were really looking out of it at a nice scenery. This I did on April 3, 2002. |

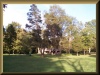 |
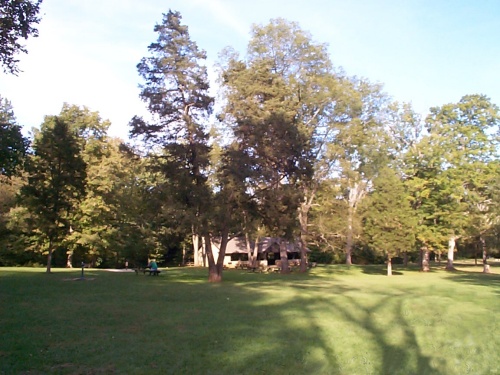
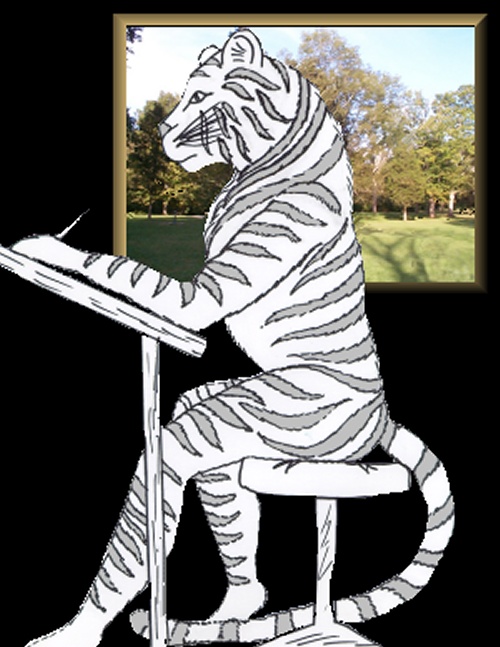
This is the picture I chose. It is a picture I took on one of our days out at John Bryant Park. I felt it would be perfect for what I was after!
I then brought it into Paint Shop Pro 5 and sized it accordingly and then I needed to figure out a window frame for it. So, I 'buttonized' it in PSP5. I played around with the color table till I got the effect I wanted. Now, to put the two pieces together! |
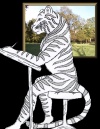 |
In PSP5 I had to do a couple of things. I wanted the picture to be behind the tiger but if I tried to 'paste' it as a 'transparent selection' the park would be in front of the tiger. Didn't want that. And if I tried to paste the tiger over the window, I wouldn't have a window. How did I solve this dilema? I created a new page of the same size that I wanted and made the background black. I then used the 'lasso' to go around the picture, copied it then pasted it as a 'transparent selection' onto the black background. I then repeated this method with the tiger. Wahlah! |
 |
Ok. Now I have both pieces in one pic. There was some 'cleaning up' that needed to be done. Especially around the tiger. So, I carefully used the 'clone brush' to go around the tiger and merge it into the background of the 'window'. The part of the tiger where it met the black background was easy to do. I just used the 'eraser' and went around the tiger and colored it in, or should I say took the color out.
Also, there were spots in the pic of the window so I also used the 'clone brush' to fix those areas. |
 |
In this step, I used the 'eraser' on black to fill in the parts that I didn't get by making the background black, such as under his tail. |

|
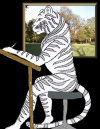
I made sure everything looked just right and then put a signature on it and saved it as a .gif so I could save it as a transparency and then I was done! |
|

